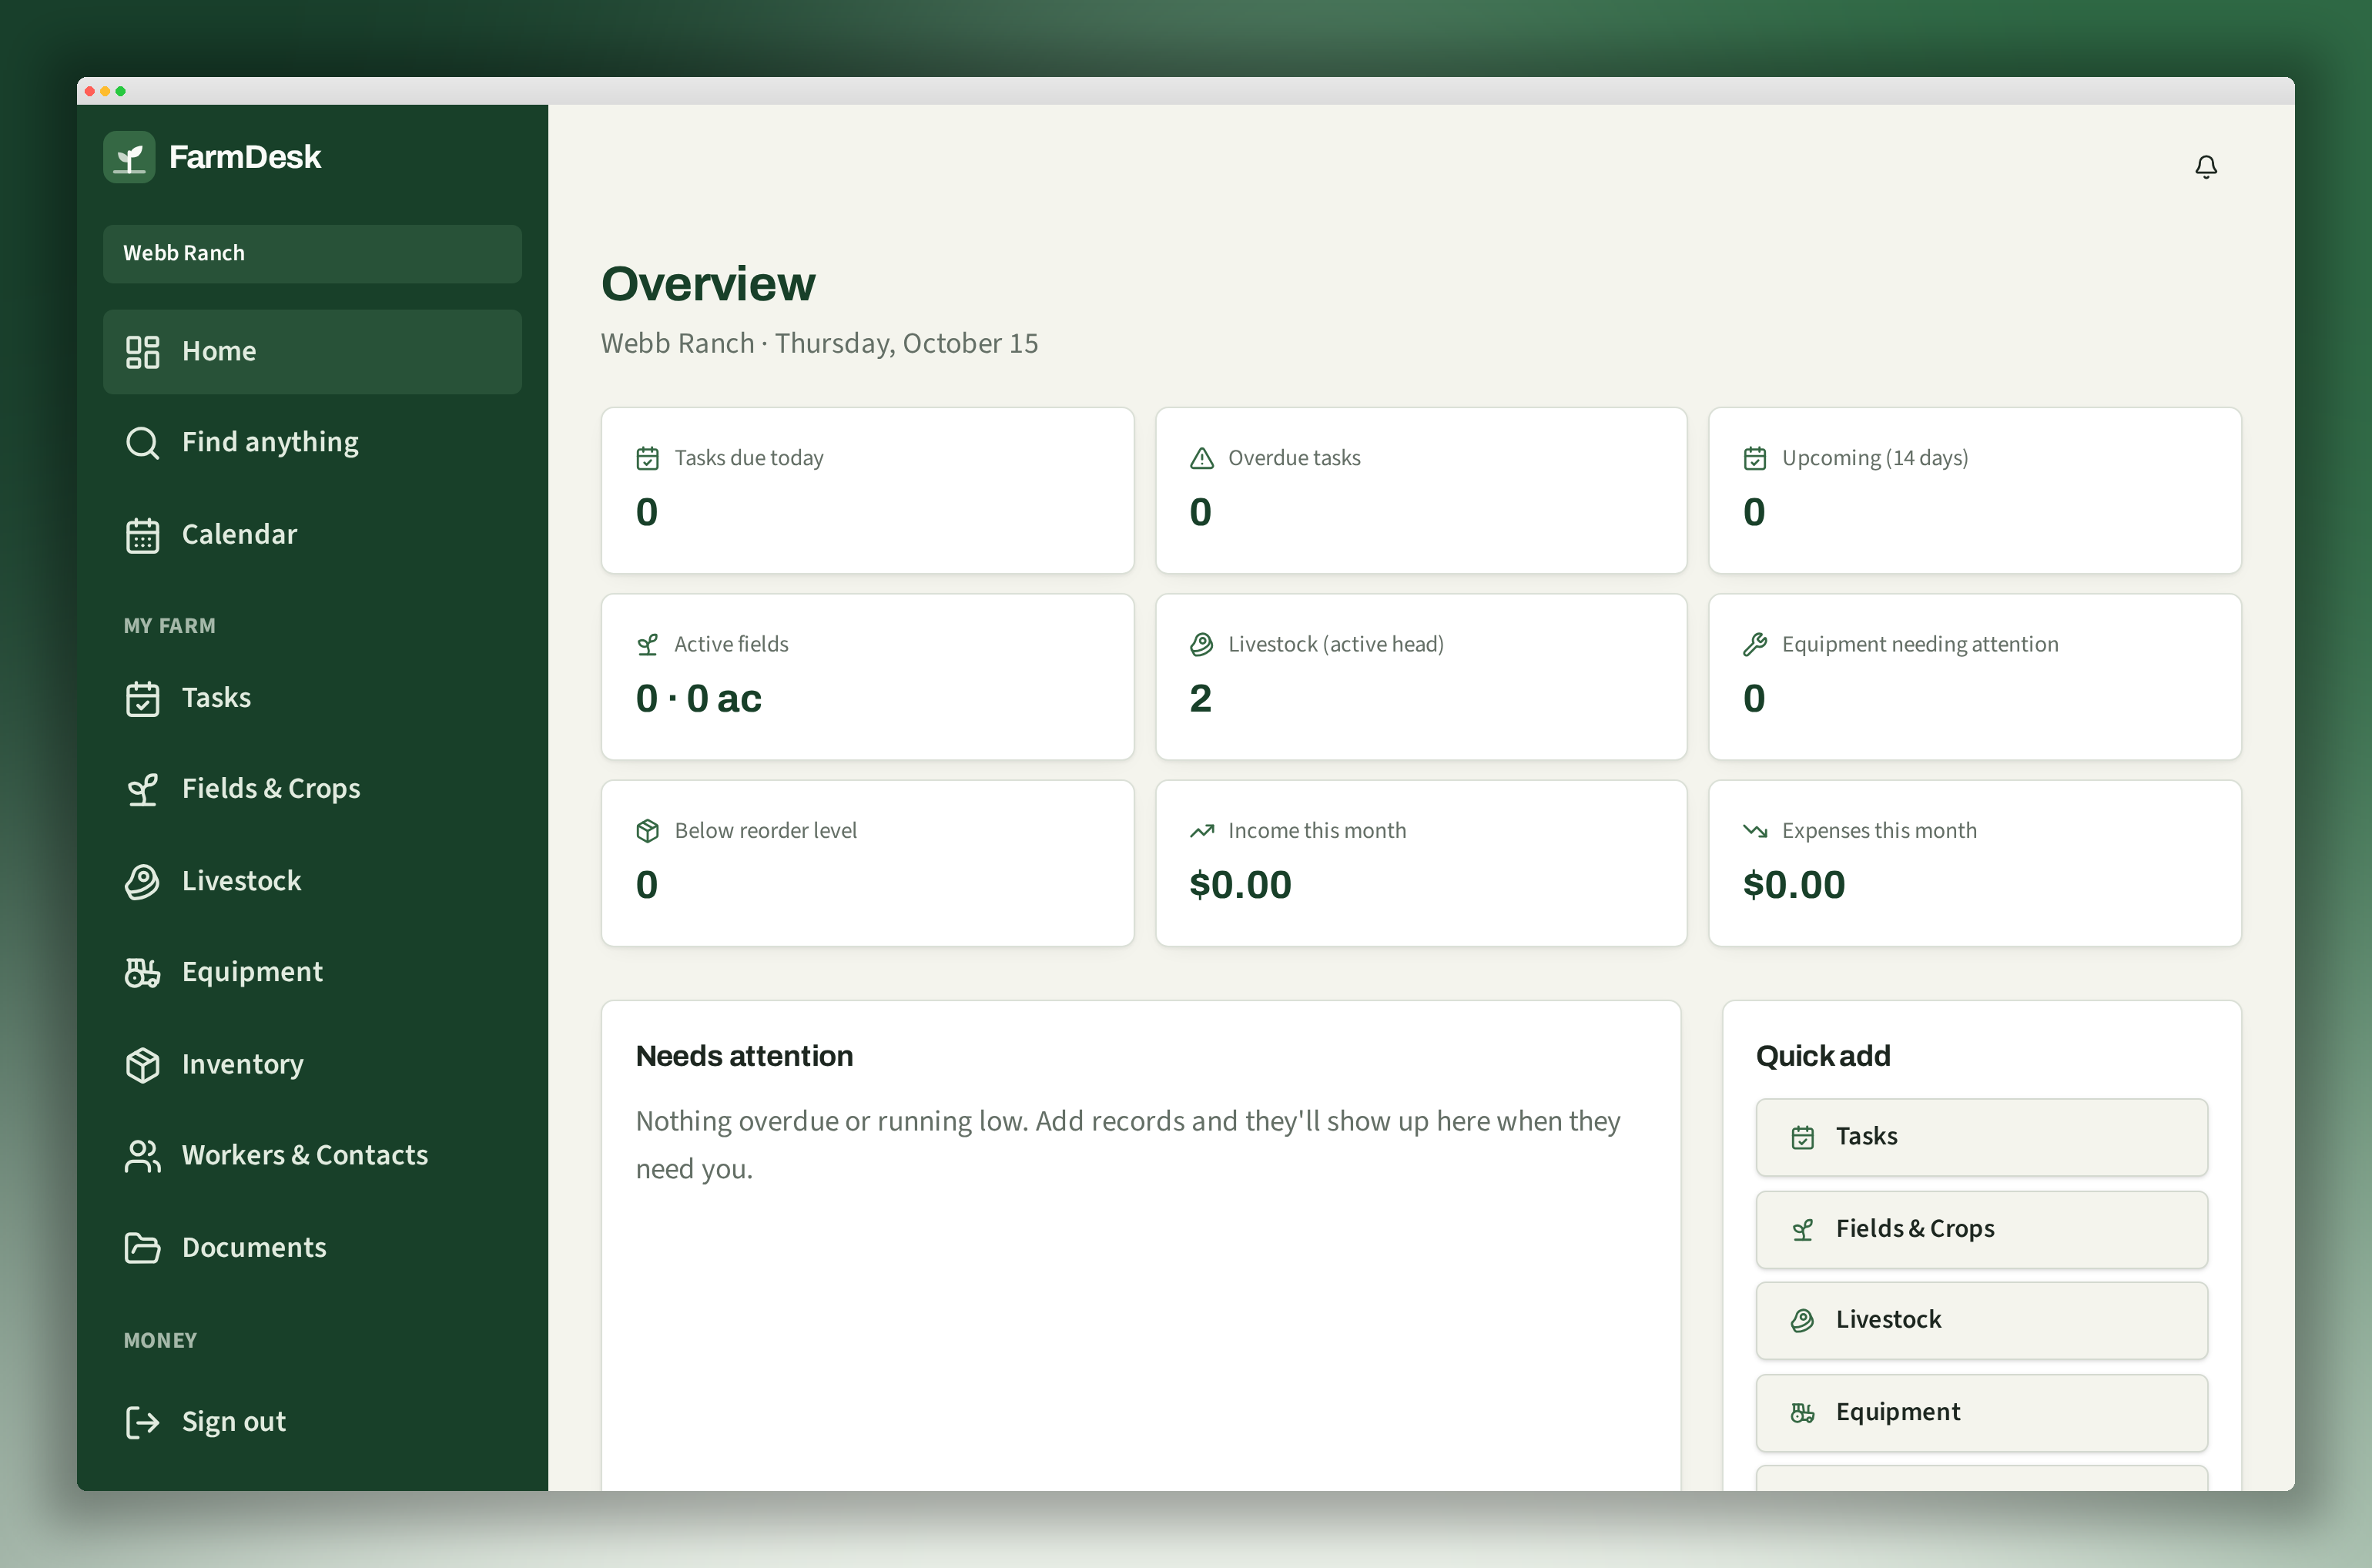
01 / Set up your farm
Make FarmDesk your own
Create an Owner account for your farm. Managers, bookkeepers and employees join a farm through an invitation, rather than creating a second copy of it.
- 1
Enter your farm’s name, location and type of operation.
- 2
Choose your units and currency, then turn on the tools you need. You can change these in Farm Settings later.
- 3
Optionally add your first Marketplace listing during setup. Selling requires the farm owner’s paid plan.
Your farm starts with your own records, not sample numbers. If you only want to shop, choose Shopper or Business buyer instead.
02 / Home, tasks & calendar
See what needs attention today
Open Home for today’s tasks, overdue work and the next two weeks. Low stock, service dates and unpaid sales are drawn from the records you enter.
- 1
Open Tasks and add a job with a due date, priority and status.
- 2
Update the job as work progresses, then mark it complete when it is finished.
- 3
Open Calendar to see task due dates, equipment service dates and harvest dates together by month.
Dates and warnings depend on keeping your records up to date. FarmDesk does not know a job is finished until you record it.
03 / Fields, livestock, equipment & inventory
Give every part of the farm a place
Use separate lists for fields, animals, machinery and supplies. Each list asks for the details that belong to that kind of record.
- 1
Fields & crops: enter a field’s area, soil, crop, variety, planting date and expected harvest date.
- 2
Livestock: track an individual animal or a group, including species, breed, location and head count.
- 3
Equipment: record a machine, its hours and service dates. Use your manufacturer’s maintenance schedule.
- 4
Inventory: enter a supply’s quantity, unit and reorder level. Update the quantity when supplies arrive or are used.
Open an existing record to edit it. Search or filter a list to find an item, export it to CSV, or remove a record you no longer need.
04 / Finances, sales, reports & payroll
Keep track of money without loose notes
Recordkeeping and moving money are different things. FarmDesk can organize your financial records; the wallet and money transfers are not live yet.
- 1
Record income and expenses with a date, category and amount.
- 2
Add sales with buyer details, payment status and due dates. Update the status when a buyer pays.
- 3
Open Reports for a weekly, monthly, six-month or yearly summary, or choose a date range and export the results to CSV.
- 4
Use Payroll to record employee pay dates, amounts and payment status. Scheduling a record does not send a direct deposit or calculate payroll taxes.
Financial pages are restricted by team role. These records support your bookkeeping, but do not replace an accountant or payroll service.
05 / Documents & contacts
Keep the paperwork with the farm
Store manuals, receipts and soil tests alongside the rest of your farm information, and keep useful people in Contacts.
- 1
Open Documents to upload a file and give it a useful name. Owners and managers can upload and remove files.
- 2
Farm members can open files they have access to. Documents are kept in private farm storage, not a public gallery.
- 3
Add suppliers, buyers, vets, mechanics and other contacts so their details are easy to find again.
Use clear names for documents and contacts so they are easy to recognize later.
06 / Invitations & access
Bring your team into the same farm
The farm owner controls invitations. A person cannot join your farm just by choosing a role on the sign-in screen.
- 1
In Farm Settings, the owner invites a team member using their email address.
- 2
Choose Manager, Bookkeeper or Employee to match the access they need.
- 3
The invited person signs in with the matching email to join. Farm membership and role determine which records and actions are available.
Farm records stay separate from other farms. Marketplace listings and your chosen network profile are intended to be shared.
07 / Buy & sell
Put your farm in front of buyers
Browse the Marketplace for crops, livestock, equipment and other listings. Shoppers and business buyers can create free buyer accounts.
- 1
With a paid farm plan, an owner or manager can add a listing with a title, category, price and description.
- 2
Choose the buyer types you want to reach. You can draft listing text with AI, then check every detail before posting.
- 3
Buyers can contact the seller from a listing. Farm members with the right access can read and reply to inquiries.
Marketplace messaging helps buyers and sellers arrange a sale. It is not an automatic checkout, delivery or money-transfer service.
08 / Talk to farms & notifications
Connect with other farms
The Farm Network is opt-in. A farm appears in the directory when it chooses to be listed.
- 1
Open Talk to farms and turn on “List my farm in the network” if you want other farms to find you.
- 2
Find a listed farm and open a conversation. Sending farm messages and replying to buyers require the farm owner’s paid plan.
- 3
Check the notification bell for new messages, trial-ending alerts and upcoming pay dates. These are in-app notices, not guaranteed email or phone notifications.
A farm that has not chosen to be listed will not appear in the directory. Free farms can browse listings and read messages without selling or sending replies.
09 / Find anything, settings & account
Stay in control of your records and plan
Use Find anything to search across the farm records your role can access. Switch farms when you belong to more than one; each farm keeps its own records.
- 1
Export individual lists to CSV, or use the account page to download your farm data.
- 2
Open My account & plan to manage your profile and plan. Farm Basic starts at $1.75/month; higher plans are also available.
- 3
Choose monthly, yearly with 10% savings, or a three-year one-time payment. Monthly and yearly plans have a one-month free trial; the three-year option does not.
- 4
Manage cancellation from your account. Check the Terms and Privacy pages before signing up.
FarmDesk works in a web browser on a phone, tablet or computer. An internet connection is required; offline use is not available yet.
What is not live yet
The Wallet and Payments pages are previews. Adding funds, holding a real balance, sending payments and bank payouts are not available. Direct-deposit payroll and trial-reminder emails are also not connected.
You can use the recordkeeping tools without those money-moving services.